Beginning and ending a collaborative session
Overview
A structured routine, especially through circle times at the start and end, provides predictability for children with disabilities in workshops. Facilitators introduce themselves, outline plans, and seek feedback during the beginning circle time, tailoring communication methods. Consent is reaffirmed. In the concluding circle time, workshops are recapped, future plans are shared, feedback is gathered visually, and participants are celebrated for their positive contributions, fostering a sense of pride.
Description
Creating a structured routine and explaining what participants can expect helps children with disabilities feel more at ease and builds a sense of predictability. Circle times, where you introduce yourself and outline the session’s plan, offer an excellent way to initiate the workshop and ensure that everyone is on the same page.
Circle time in the beginning
Starting the workshop with circle time brings all participants together in a welcoming and inclusive manner, considering that some kids may be seated, standing, or using mobility devices. During this time you can include the following activities:
- Briefly introduce yourself, the co-facilitators, and any other team members present.
- Provide a concise overview of what will happen during the workshop, giving children a sense of the activities and their timeframe.
- For kids who can communicate verbally, ask for direct feedback to ensure they have understood the information presented.
- For children who use alternative communication modes, tailor your approach to ensure their participation and understanding. For example, those who rely on picture-based communication systems can benefit from visual aids like cards with images representing different activities. Show these cards and allow the children to respond by nodding, tapping the image, or expressing themselves using their preferred mode.
- If this is part of a series of co-design workshops, include a recap of previous sessions, which will help the children to connect previous learning with the current day’s goals and activities.
- Reiterate the consent verbally and ask them whether they are still interested in participating in the activities and let them know that they can leave at any time.
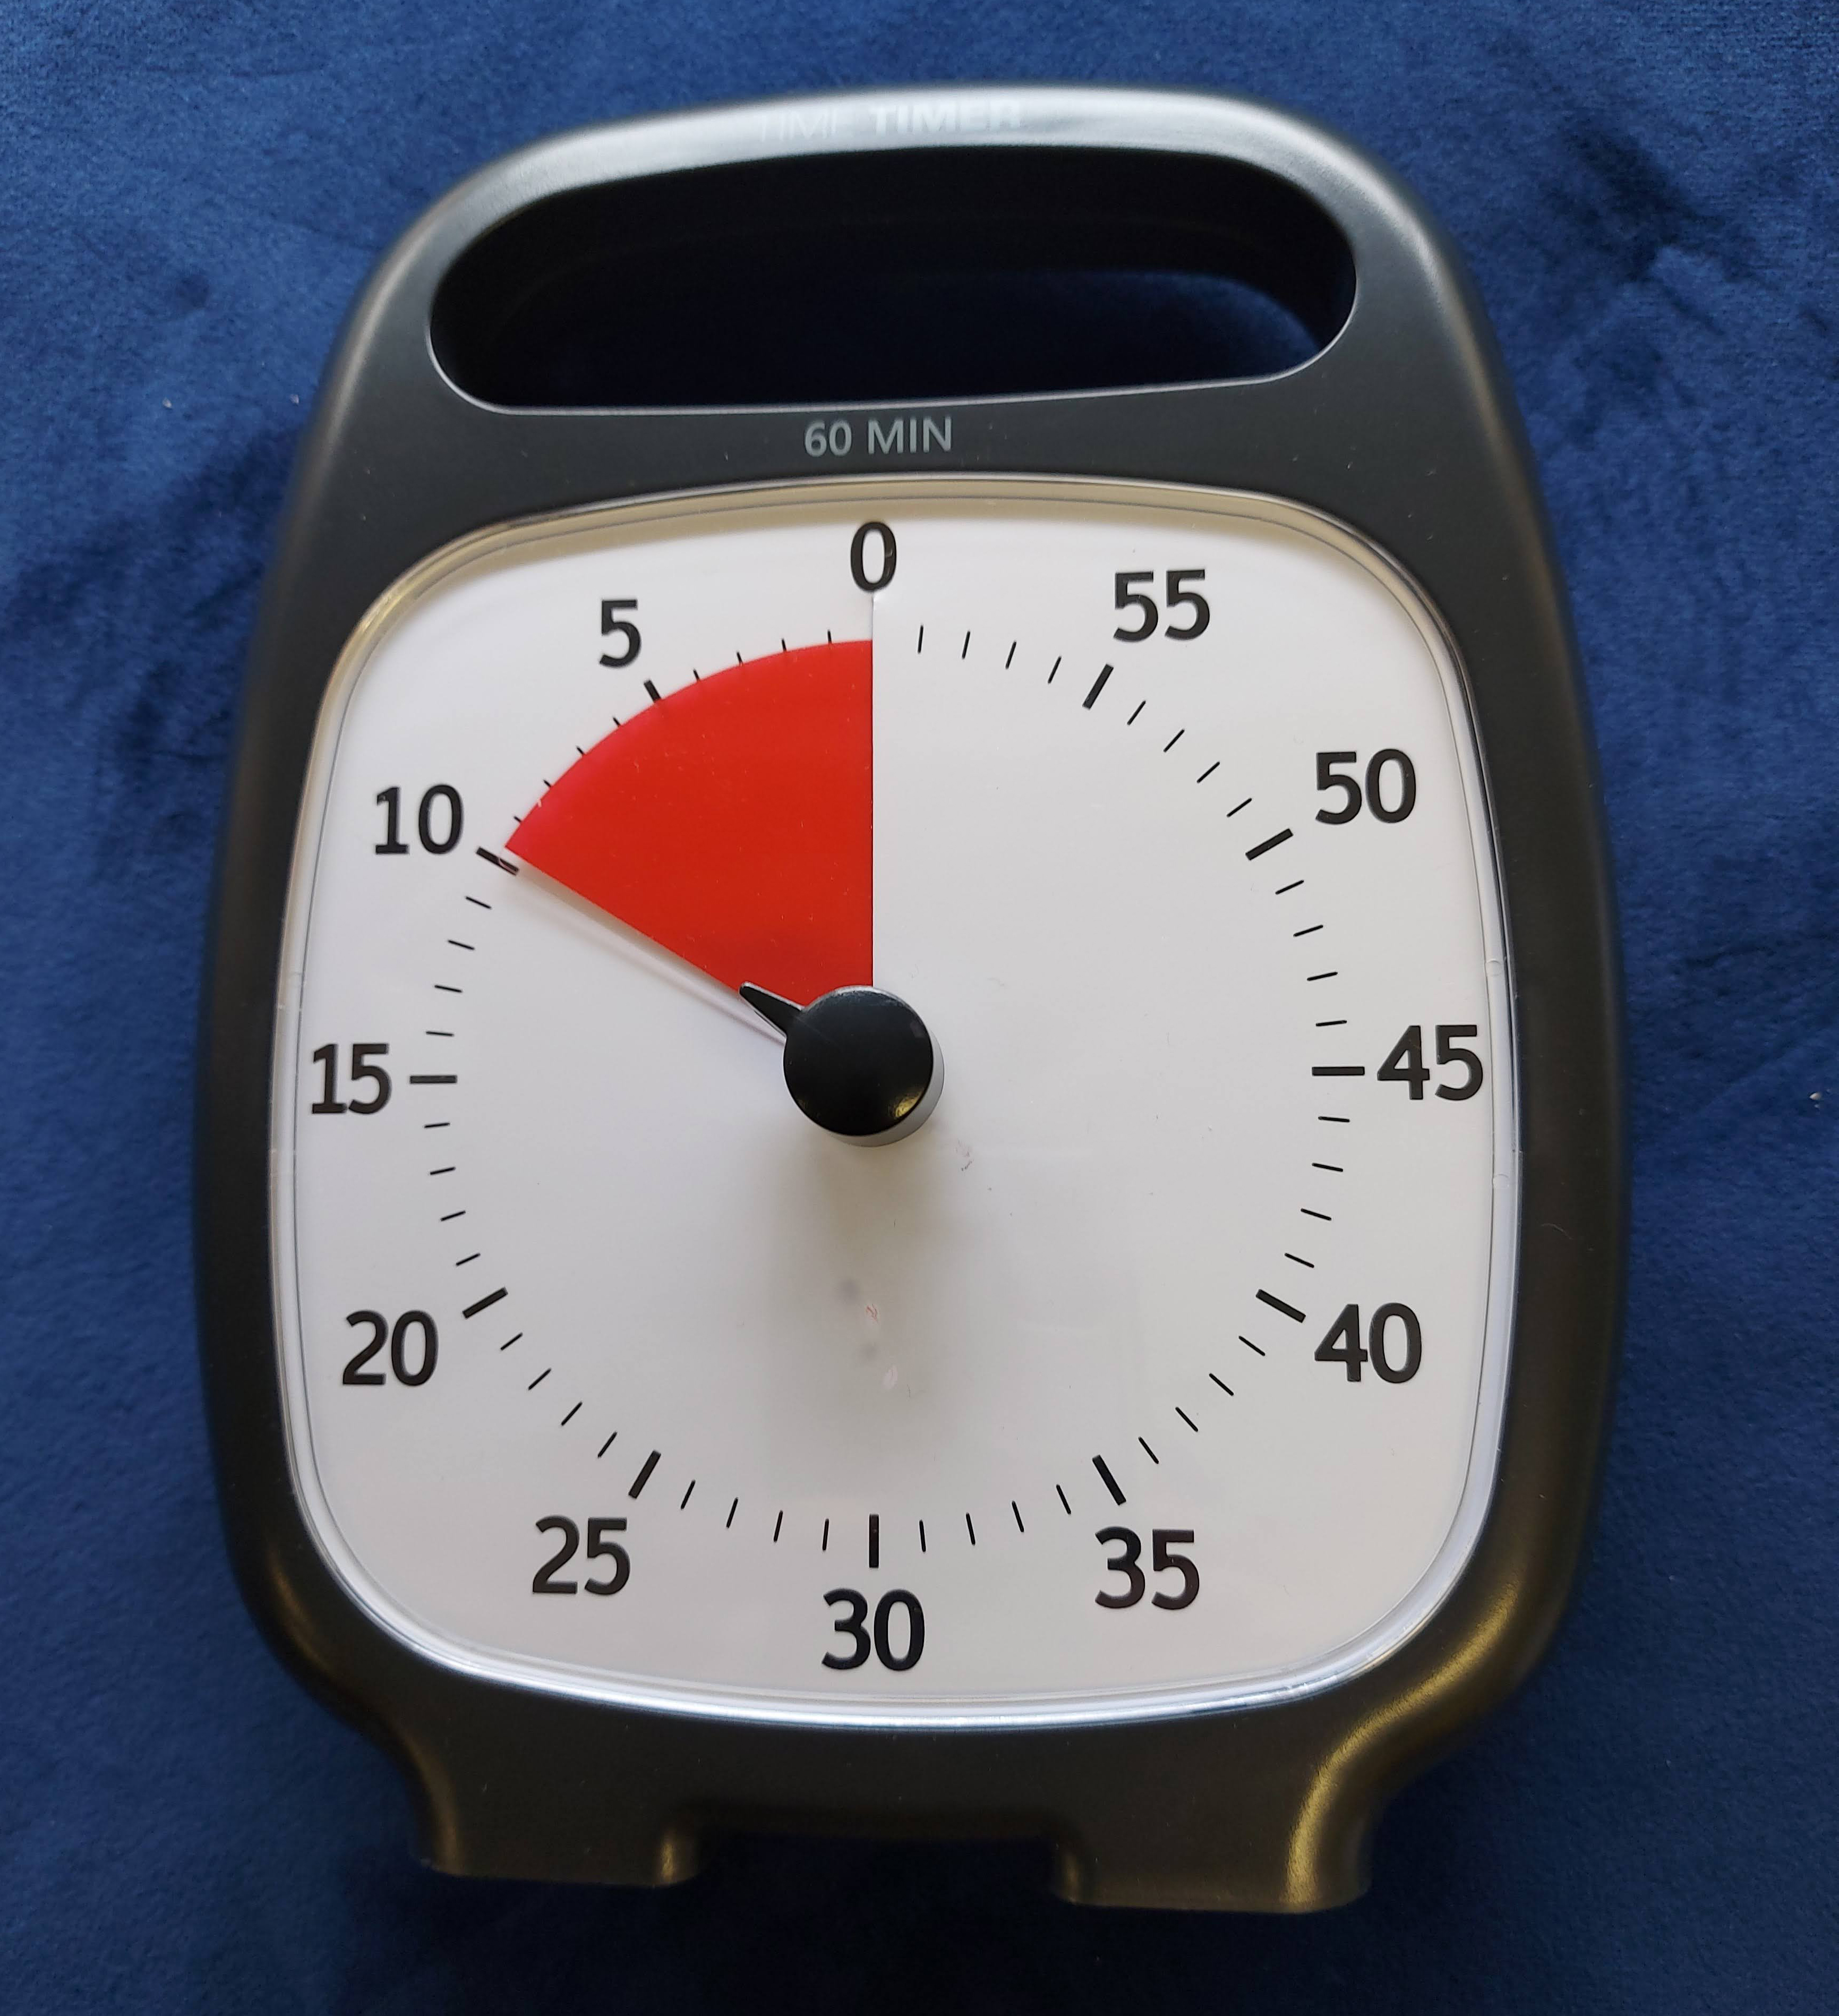
- Use picture symbols, photographs, and visual timer. Setting the agenda for each session using picture symbols will allow students to visually see and understand what is going on in each session.
Circle time at the end
Similarly, conclude the workshop with a circle time. This helps create a sense of closure and anticipation for future engagement. During this time:
- Briefly recap what has been done during the workshop and highlight the activities and ideas explored.
- Clearly inform the participants about what they can expect immediately after the workshop. For example, if they have another activity scheduled right after. For example let them know if there is lunch recess or gym class after they leave your session.
- Share what they can look forward to in the future, such as continuing the project or trying out the product they helped create.
- Collect participant feedback. For children who use picture-based communication methods, provide Yes/No cards or emotion cards to gather their input on whether they enjoyed the workshop and its collaborative activities.
- Show appreciation and celebrate participants’ efforts and creativity, emphasizing the positive impact they’ve made on the project. This fosters a sense of pride and accomplishment among the participating children.
Example

In every stage of the multi-year Weavly project, regardless of the group or specific activities, we consistently initiated and concluded our work with a circle time. Setting up a visual timer and a visual agenda for the planned activities was very helpful.
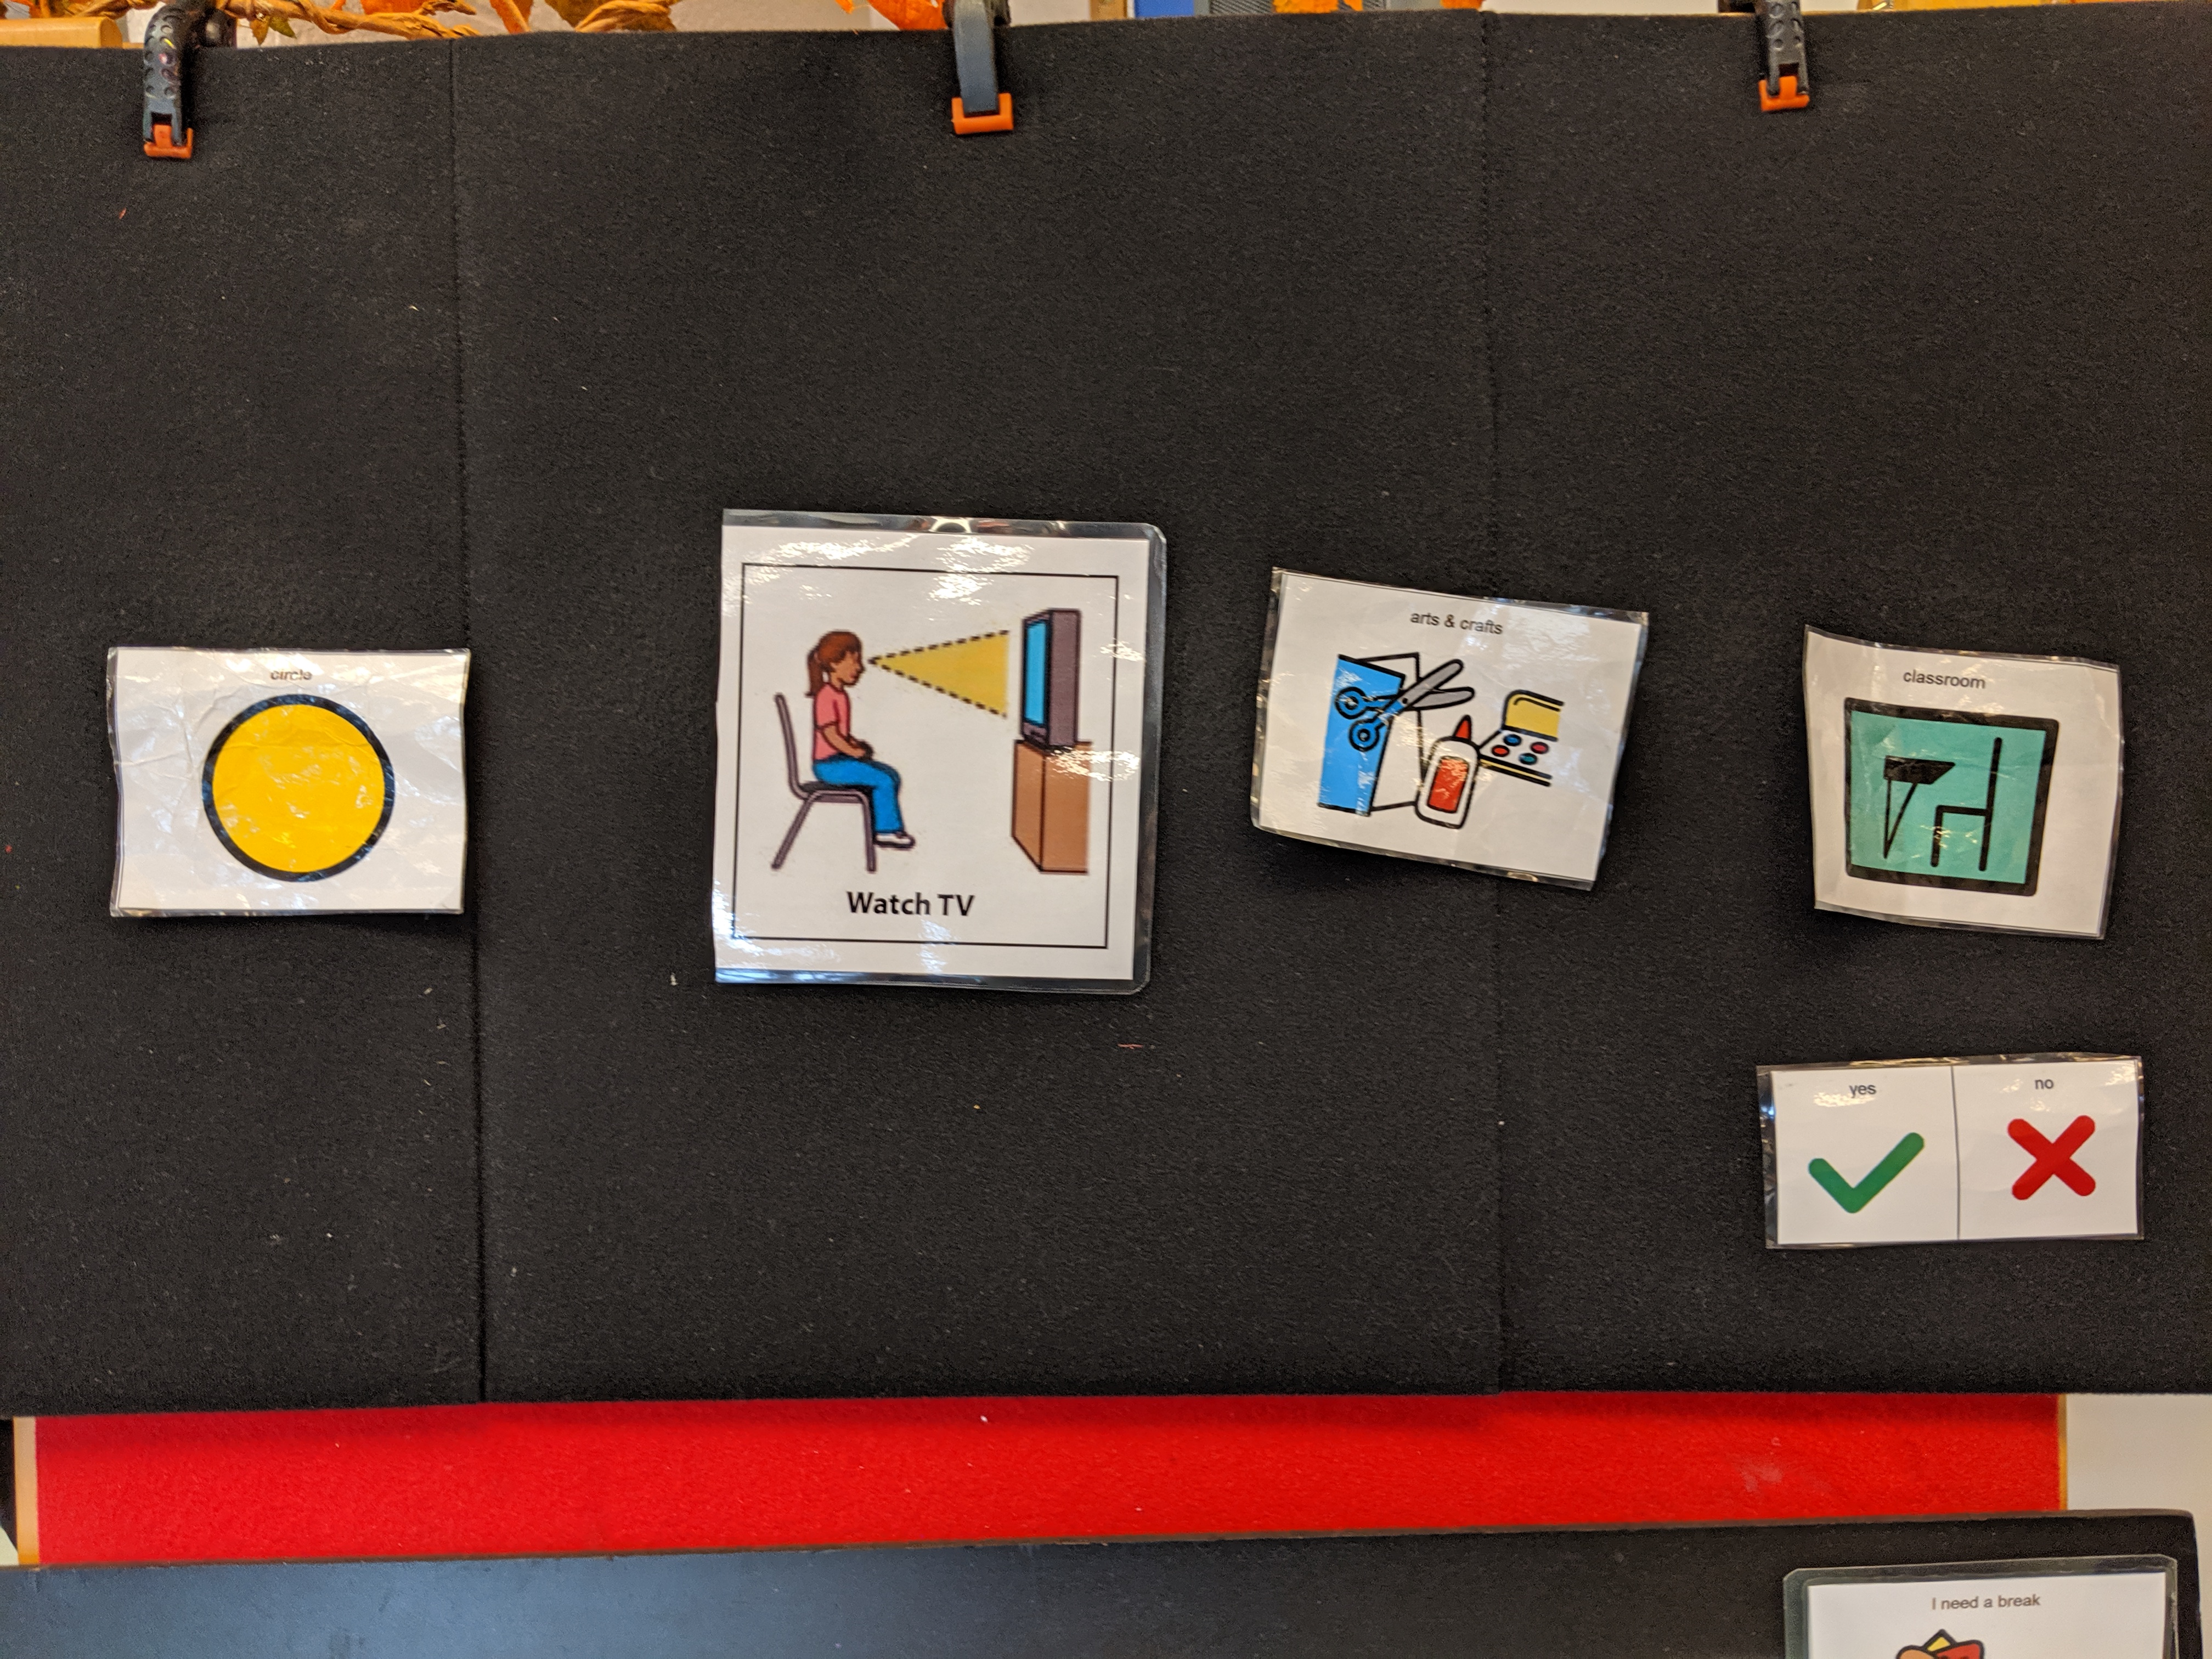
Depending on the activities for each session, we created a different visual schedule and velcroed it onto a board visible to all students. Then, during the circle time, we explained each step, took the visual card of that step, and showed it to each individual student to get them to confirm that step either through tapping the image, nodding, or giving their feedback verbally. As we progressed through a session, we removed the steps from the board and also updated the visual timer.

Here is an image of a visual schedule we had created for one of our sessions, including four steps:
- First circle time.
- Next, you will a watch video (screen, white board etc.).
- Then, you will work on some art activities.
- Last, circle is finished, all done.
- Finally, you will go to your next class (or activity)
There is also a Yes/No feedback card on this board that we used with some students to gather their feedback about different questions.
You can find visual illustrations of some of the commonly used activities, such as Circle Time, Goodbye Circle, Work at table time, Game time, Watch video, Read book on the web, to create a visual schedule for any session. In some cases, it was easier for us to take photographs of actual objects and places to suit the needs of the project, such as images for Washroom, Sensory toy bin, Rest area.
The teachers at our partnering school had prepared a folder with large images of different areas in the school, such as the gym, lunchroom, library, main area, etc. At the ending circle time, we showed the students the image of the area they would be heading to after the workshop.